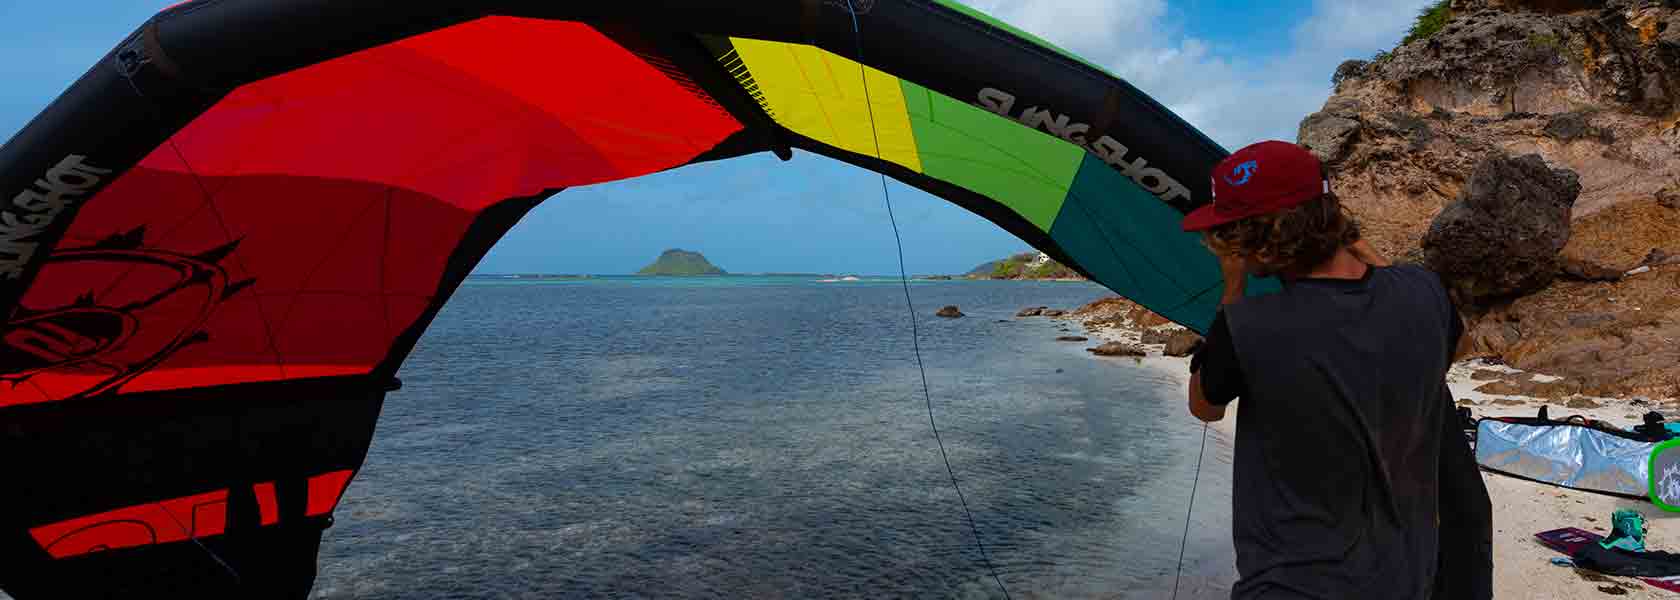
In kiteboarding lingo, the expression “flies like a tractor” is used to describe a slow, unresponsive kite that takes a ton of input to steer.
For entry-level riders, kite speed isn’t much of a concern (in fact, a slower kite can help in the learning process), but once you get a feel for kites of different sizes and shapes in different wind conditions, you really start to notice how much of a difference steering speed makes in your overall experience on the water.
To be clear, faster isn’t always better. There are plenty of cases when you might want to slow a kite down, such as when you’re learning, practicing new tricks, hitting kickers and sliders or a small kite in strong wind. But if you happen to have a tractor or two in your quiver you’d like to speed up, we have FIVE easy tips on how to help.
1. Get the right kite:
While this won’t help with kites you already have, it’s worth noting for the future. Certain kite styles, sizes and shapes are faster or slower by design. High aspect kites (long, slender, pointed wingtips) like the Turbine, for example, are noticeably slower, but what they lack in steering speed they make up for in power, efficiency and flying speed. On the reverse, a Compact-C shape like the SST are much faster by design. Same goes for kite size- larger kites are always going to be slower than smaller kites. The key is to figure out what your riding style is and choose your kites accordingly. It sounds like common sense, but you’d be surprised at how often we hear from people who don’t understand why their 14m is so slow, or who buy a slower kite by design, then complain that it’s slow.
2. Get more than one bar:
The longer your bar, the more leverage you’ll have over your kite, which in turn increases steering speed and lessens the amount of bar input needed. This is especially effective for larger kites, which not only steer slower but take more arm strength to move and generate power. Slingshot Compstick bars, for reference, are available in 17”, 20” and 23” lengths. The 20” is our “universal bar” that will work for all kites and all sizes, but there are definitely times when changing bar length will be a big help in getting the steering speed you want. Having more than one bar size to choose from is a great way to speed up or slow down your kite depending on the conditions of the day, the kite size you’re flying and the performance you want. In a perfect world, you would have all three sizes- the 17” for small kites on super windy days or for slowing down medium kites for wakestyle or learning; the 20” for most days and the 23” for larger kites or for to give slower kite shapes (medium to large size) fly faster and generate more power.
3. Understand line length:
Similar to bar length, line length also plays a role in your kite’s steering speed and handling. Longer lines draw out your turning radius, slows down steering and makes your kite less responsive. That’s not necessarily a bad thing- longer lines also give you more power generation, more light-wind range and higher jumping potential. In terms of speeding up or slowing down your kite, you’ll get the best effect with a 20” Slingshot Compstick bar because it comes with 20m lines and 3m line extensions. If you want to speed up your kite, take the extensions off; if you want to slow it down, put them back on, it’s that simple. The 17” and 23” bars come with 20m and 27m lines respectively. Using the 17” on a medium size kite will speed it up, but the shorter bar length will require more steering input. On the reverse, using the 23” bar on a larger kite will lessen the bar input needed, but the longer lines will slow it down a bit.
4. Bridle and line attachment points:
Most kites (all Slingshot kites) have different attachment points for where the bridles attach to the kite (if there are bridles) and where your lines attach to the bridles. Changing these will change your kite’s steering speed, handling, bar pressure, depower and responsiveness. You’ll get the fastest steering speed out of the “freestyle” setting for your bridle connection (trailing edge bridles closest to the end of the wingtip, leading edge bridles closest to the wingtip). From there, you’ll have several knots at the end of your bridles to attach your lines. This will take a little trial and experimentation on your end to see what knots are best depending on your kite, the wind and whether or not your bar is tuned perfectly. As a general rule, if you back lines are too loose/slack, your kite will steer slower and have less power. If they’re too tight, your kite will be less efficient and prone to backstalling.
5. Line/bar tuning:
Kite lines can stretch over time, and sometimes unevenly. If your bar isn’t tuned properly, your kite won’t fly properly, and if your back lines are longer than your front, even slightly, your kite will feel slow and unresponsive. Checking for line stretch is easy, and small variations on length can be fixed on the spot.

