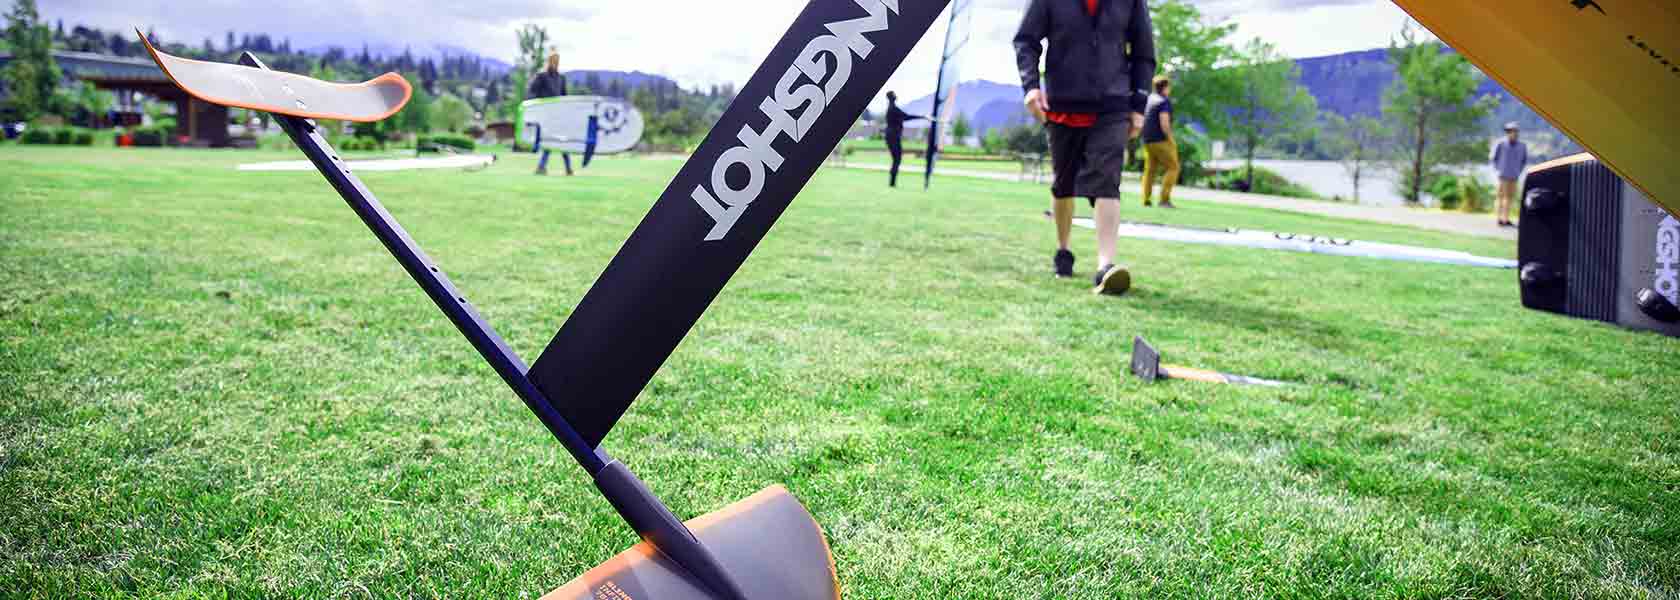
Slingshot Hover Glide Switch Fuse for Hydrofoiling | 2020
Proper placement of your front Hover Glide hydrofoil wing is important for creating your perfect center of balance. The Hover Glide Switch Fuse allows you multiple set up positions to optimize your foil performance.
Hey guys. I’m going to explain the Slingshot Switch Fuse and how to use it. When foiling, it’s all about creating a good balance with the center of lift. You don’t want to have all your weight on your front foot, you don’t want to have all your weight on your back foot. You want to get to a happy medium. Where you place the front wing, whether it’s pretty far back, a little further forward or really far forward, changes that center of lift, and the Switch Fuse allows you to do that. So we’ve got an A Position, which has the wing all the way back, the B Position moves the wing a little further forward, and then if I switch it around, the C Position gets that front wing extra far forward.
So if I take the fuse, slide it into the wing and mount the mast right into this cutout here, that would be A Position and the wing would be very far back. My lift would be pretty far back. This is really just used for prone surfing and kiteboarding. But if I put the mast cap in here, and I mount the mast into Position B, that’s the position I like for pretty much all of the wings. It gets that lift a little bit further forward, gets a little more weight on my front foot. With a foil specific board like our Slingshot Wizards, this B Position is pretty perfect with almost all of the wing. Only the really big wing, do I use Position C. But if I was gonna use the big Infinity 84, I like to switch it around and mount the mast into the C Position, which gets that wing extra far forward, giving me more lift and more pressure on my front foot.
The three different Switch Fuse Positions are:
Position A- the mast mounts directly into the neck of the wing. This is mostly used for kiteboarding and prone surfing. It gets the lift furthest back because the wing is furthest back.
Position B – is my choice for all the Slingshot boards and every wing except for the biggest, Infinity 84. Position B gets that wing a little bit further forward than Position A. You can see there’s about thumb’s distance between the neck of the wing and the start of the mast. So again, Position B is really my go-to for all the wings except for the Infinity 84. Right here, you’ve got it mounted with the Infinity 84 in Position C. This wing is extra far forward now, you can see there’s one, two, three thumb distances between the start of the mast and the neck of the wing. So let’s get that lift extra far forward. It gives me more on my front foot. With the really big wing, I like it in Position C.
Position C – Windfoiling on the foil specific Wizard board. You can see that the tuttle box is directly underneath your back foot. If you were to use a non-foil-specific board, like an old slalom board, the tuttle box would be behind your back foot. So to compensate for that tuttle box being further back, we need to get the wing further forward. So if I’m going to use a non-foil-specific board, I’m generally going to set it up in Position C to get that wing further forward to compensate for the tuttle box being further back.

